
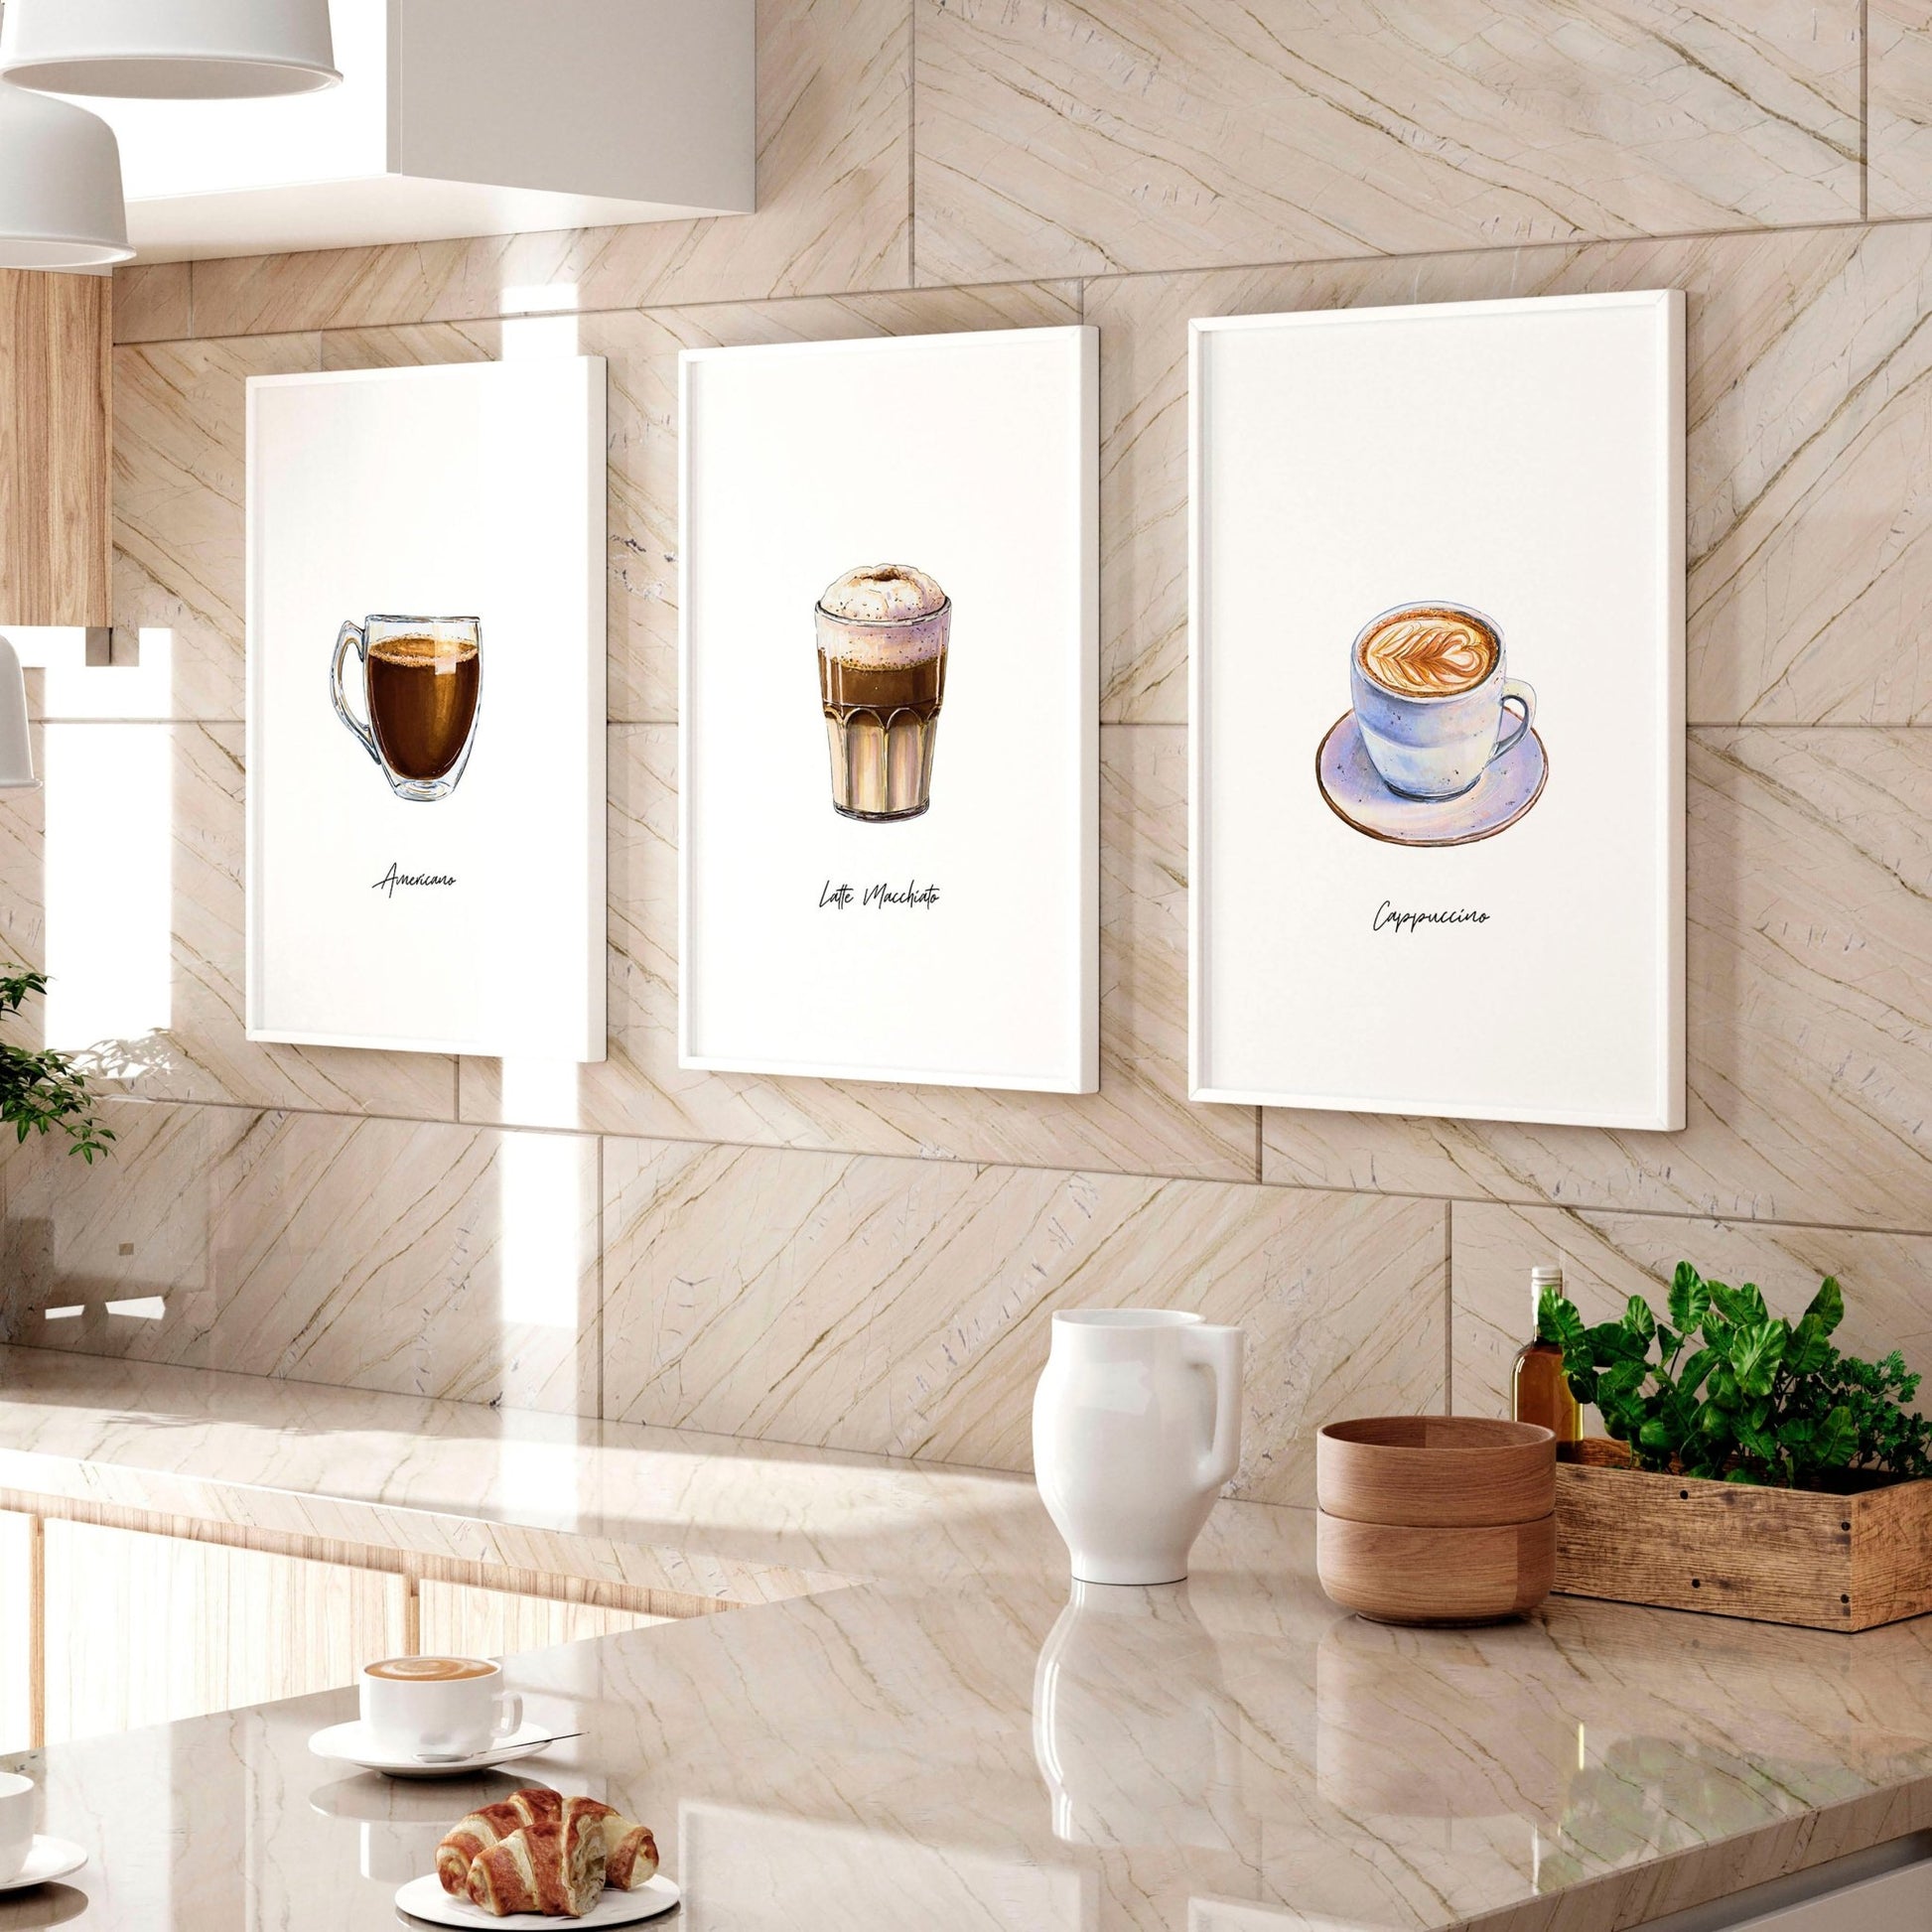
Coffee Art Painting: Creating Art with a Cup of Coffee
Coffee is best known as a much-loved drink, but it can also be used as a versatile painting medium. Coffee art painting transforms an everyday ingredient into warm, atmospheric images, using its natural brown tones to create everything from delicate sketches to richly layered scenes.
What is coffee art painting?
Coffee art painting is the practice of using brewed coffee in place of, or alongside, conventional watercolour. The coffee acts as a natural pigment: a light wash creates a pale, translucent mark, while stronger coffee produces deeper shades of brown. By varying the strength of the brew and the amount of water on the brush, artists can build up a range of tones.
The finished work often has a distinctive sepia quality. It can feel soft and nostalgic, though the medium is also well suited to bold shapes, fine details and contemporary illustration.
Choosing and preparing the coffee
Instant coffee is a popular choice because it is easy to mix and produces a consistent colour. Dissolve a small amount in water, then make several mixtures of different strengths. Keep these in separate containers, ranging from a very pale wash to a dark, concentrated solution.
Brewed coffee can also be used. Strong coffee generally gives a deeper tone, while different beans and brewing methods may produce subtle variations in colour. It is worth testing each mixture on scrap paper before beginning, as the shade can change as it dries.
Materials to get started
- Watercolour paper or another sturdy, absorbent paper
- Instant or brewed coffee
- Watercolour brushes in a few different sizes
- Small containers for mixing washes
- A palette or white plate for testing tones
- Pencil and eraser for a light preliminary drawing
Thicker paper helps prevent buckling when wet. Watercolour paper is a reliable option, but other surfaces can work too, so long as they can handle moisture.
Techniques for painting with coffee
Many watercolour techniques can be adapted to coffee. Begin with a pale wash to establish the broad areas of light and shade. Once it is dry, add darker layers gradually. This approach, known as layering or glazing, helps create depth without losing the transparency of the medium.
For a softer effect, apply a wash to damp paper and allow the colour to spread. For sharper edges and fine details, wait until the paper is dry before adding more coffee. Dry-brushing, where a brush with little liquid is lightly drawn across the surface, can suggest texture such as fur, foliage or old stone.
It is also useful to leave parts of the paper untouched. The natural white of the page can become the brightest highlight in the image, creating contrast with the coffee washes.
Ideas for subjects
The warm palette of coffee lends itself particularly well to portraits, still lifes, landscapes, architectural studies and botanical illustrations. It can give a familiar object a weathered, vintage appearance, or bring gentle warmth to a simple line drawing.
Because the medium offers a limited range of colours, it encourages artists to focus on tone, shape and composition. A subject does not need to be complicated: a leaf, a favourite mug or a small building can make an engaging first study.
Practical tips
- Make a tone chart before painting so you can see how each mixture dries.
- Use several light layers rather than applying a very dark mixture straight away.
- Allow each layer to dry before adding details or further washes.
- Keep a clean brush and fresh water nearby to soften edges or lift a little colour.
- Test your paper first, as different surfaces absorb coffee differently.
Coffee is an organic material, so its colour and longevity may vary. Finished pieces should be allowed to dry fully and kept away from excess moisture and direct sunlight. If preservation matters, test your materials and consider protecting the finished work behind glass.
A simple, expressive medium
Coffee art painting is an accessible way to experiment with colour, contrast and texture. It requires few materials, invites a relaxed approach and offers plenty of room for personal style. Whether used for quick sketches or carefully developed paintings, coffee can turn a familiar daily ritual into an unexpected source of creative inspiration.
Coffee Art Painting: 7 Frequently Asked Questions
- What is coffee art painting?
- What type of coffee is best for coffee painting?
- What materials do I need to start coffee art painting?
- How do I make different shades of brown with coffee?
- Can I use coffee painting techniques on ordinary paper?
- How can I stop coffee paintings from fading or becoming damaged?
- Is coffee art painting suitable for beginners?
What is coffee art painting?
Coffee art painting is the practice of using brewed coffee as a natural pigment to create pictures, much like watercolour. By changing the coffee’s strength and adding different amounts of water, artists can build a range of warm brown tones, from pale washes to deep, rich shades. Its simple materials and softly sepia palette make it a popular way to create expressive portraits, landscapes, illustrations and still lifes.
What type of coffee is best for coffee painting?
Instant coffee is often the best choice for coffee painting, as it dissolves easily in water and makes it simple to mix consistent shades, from pale washes to rich, dark browns. Choose an unflavoured variety and adjust the strength to suit your work; stronger brewed coffee can also be used, though its colour may vary. Test your mixture on a scrap of the same paper first, as the shade can look different once it has dried.
What materials do I need to start coffee art painting?
To start coffee art painting, you’ll need coffee (instant coffee is easy to mix, though strong brewed coffee works too), watercolour paper or another sturdy paper that can handle moisture, a few brushes in different sizes, and small containers for mixing. A palette or white plate is useful for testing different shades, while a pencil and eraser can help you sketch your subject lightly before painting.
How do I make different shades of brown with coffee?
To create different shades of brown with coffee, vary the strength of your mixture and the amount of water you add. A small amount of coffee diluted with plenty of water makes a pale wash, while a stronger brew or a more concentrated mix creates deeper tones. Build darker shades gradually with several layers, letting each one dry first, and test your mixtures on scrap paper to see how they look when dry.
Can I use coffee painting techniques on ordinary paper?
Yes, you can use coffee painting techniques on ordinary paper, but the results may be less predictable than on watercolour paper. Thin paper can buckle, wrinkle or tear as it absorbs moisture, so use a light touch, apply small amounts of coffee and let each layer dry before adding another. A heavier, uncoated sheet will usually hold up better; test a small area first to see how the paper absorbs the wash.
How can I stop coffee paintings from fading or becoming damaged?
To help prevent coffee paintings from fading or becoming damaged, let them dry completely and keep them away from direct sunlight, damp, heat and sudden changes in temperature. Use good-quality, acid-free paper and consider framing the work behind UV-protective glass; a mount can also keep the paper from touching the glazing. Handle the painting with clean, dry hands, and avoid applying varnish or fixative unless it has been tested on a sample, as these may alter the coffee’s colour.
Is coffee art painting suitable for beginners?
Yes, coffee art painting is well suited to beginners. It needs only a few simple materials—coffee, water, brushes and sturdy paper—and its limited range of warm tones makes it a gentle way to practise shading, layering and brush control. Start with simple subjects and experiment with different coffee strengths, letting each layer dry before adding another. Mistakes can be part of the process, so there’s no need for specialist equipment or previous painting experience.